Jun 22, 2010

Fathers Day and Fish!

For Father's Day this year I went down to my folks house by myself, DH had to finish a work project & couldn't come. Early this summer my dad had completely re-done their fish pond. (Last year the pump went out, the waterfall had lost many of its stones & the irises had taken over. They lost all of their fish when the pump died. ) He put so much work into it it looked brand new! When I saw it I knew right away what I was getting him for Father's day! Fisheeeees!

When I got there, Mom and I went to the store to get them, we didn't tell him yet what we we were getting. I knew he loved his Shubunkins from the pond at their old house, which BTW my Dad & I built(the pond, not the house), so that was what I wanted to get. I personally love Koi, so when I saw that they had some that were very reasonably priced, we got one of them too. All told we picked out 3 Shubunkins and one Koi. Dad loved them, he was so tickled. He said he would have never have thought to ask for them but thought that was the best idea.

I love to make my dad happy!

I didn't remember to take a picture of his card for some reason. I recently learned how to use distress inks from Tim Holtz, so I had made some great background paper in blues and orange-ish browns. I can show you the card I made for my FIL though:I distressed the Dad and cream cardstock using Tim Holtz's method. The black cardstock and patterned paper came from DCWV. That cream cardstock was almost a buttercream yellow before I distressed it, not the right color at all. The distressing made it the perfect color!

I also made a birthday card for one of my niece's:


Isn't that blow-fish the cutest! He was a $1 Snag-em stamp from Imaginisce's Splash Dance line. I colored it with copic markers and used Glossy Accents from Ranger on his eyes. The water paper is from DCWV and the letter brads I found on clearance at Joann's. It says "Happy birthday to you!" inside in aqua ink. I didn't have the right color green paper so, once again, I used Tim Holtz's method to color my white cardstock green! I like the way it gives it a mottled appearance as opposed to a solid color.

I hope all the wonderful Dads out there had a great Father's day too!

Jun 10, 2010

Mom's b-day card & mini disaster

So my Mom recently had a birthday, and I made her this cool birdie gate card:

The tag for the envelope:

The Front:The inside:
The gate stamp and birds are from Hero Arts. (I love their stamps!) the Sakura blossom was an altered die cut flower, and the words were cut on my craft robo (designed in inkscape). I even made a fold out stand attached to the back so it could stand up on its own. That was interesting to design on my die cutting machine!

For her gift, I got her this really cool ceramic birdhouse.... Its kind of hard to describe, it looked a little like a mushroom, but the bottom of it ended in kind of a point of graduated rings...like an upside down honeycomb. Here is my crude rendition of it:

She absolutely loved it & told all her girlfriends about it. When she got home & went to get it out of the car, she dropped it & it shattered. :( She was so bummed about it she must have told everyone about it, twice. Her girlfriends were like "we know, you e-mailed us".

If anyone who sees this knows where to find another like it, please let me know. I'd love to replace it for her. I found it at Home Goods, but have not seen another, and I've gone to all of the Home Goods, Marshalls, TJ Maxx stores, etc. in my area to no avail.

Jun 3, 2010

Spinach! And roses!

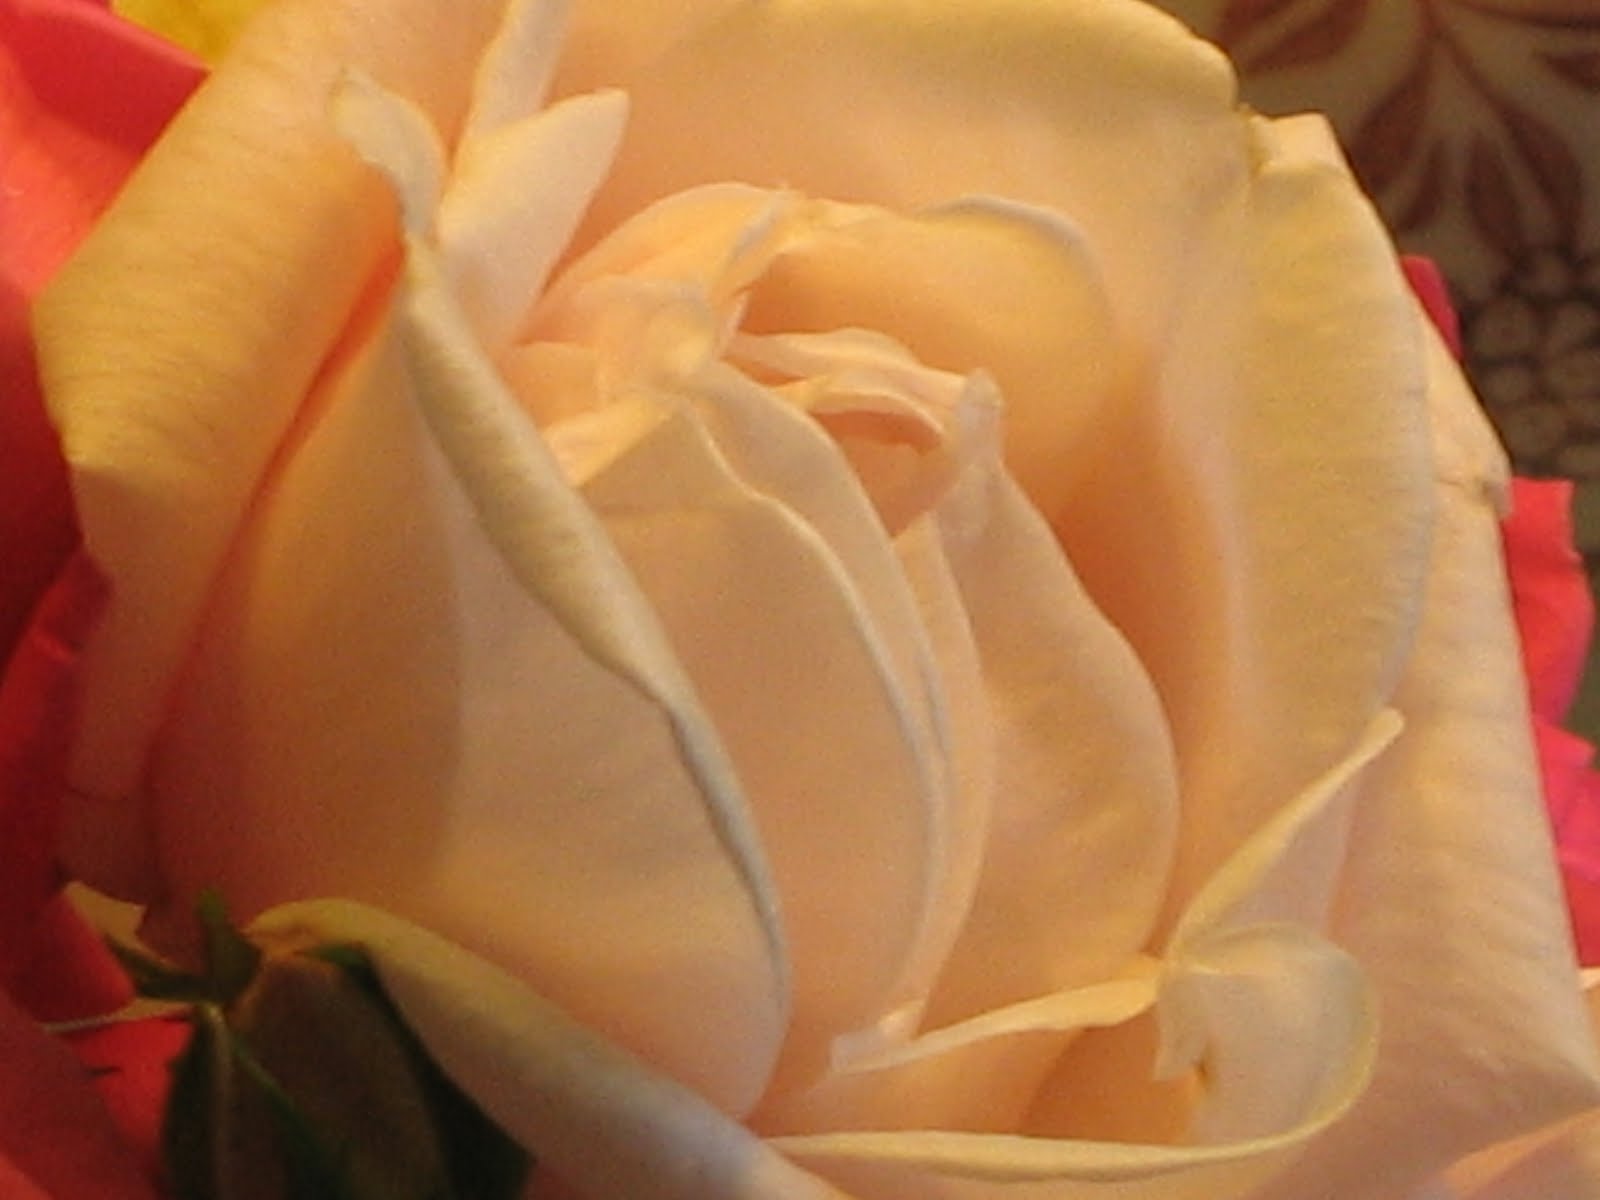
I had my first harvest of Spinach a couple weeks ago. It was sooooooo delicious. I also had an arugula harvest too. DH enjoyed his arugula salad! I harvested some extra and washed, dried and bagged it for my wonderful neighbors too. When I went over to drop off the lovely leafy greens, I was treated to some beautiful roses from Mrs. Neighbor's garden! She gave me so many that I actually was able to make 3 arrangements! Here is the main one I made:


The darker pink ones are called "knockout roses" and they bloom all summer long. The pale, pale pink ones she grew from one single rose by rooting one of her MIL's flowers. That was 25 years ago and now the rose bush covers the entire fence on the side of the house. (it's a climbing rose)

May 30, 2010

These are my cats...


Just thought I'd post some pics of my crazy kitties...the grey one is mine(she is a big girl, Mainecoon mix)and the orange one is DH's (she is a chubby orange tabby, an anomaly, the orange ones are usually male)


They are our four-legged furry children & we adopted them from a no-kill shelter. They had been there for about 3 years before we got them. Adult cats are often overlooked when people want cats, kittens have the "cute" factor and are usually snatched right up while the older ones are left behind. But kittens grow up & a lot of the cats from this shelter were abandoned once the cute wore off. Sad :( If you are looking to get a cat I strongly suggest looking for a no-kill shelter in your area and seeing some of the wonderful felines... Adult cats have already developed personalities and believe me, ours really have personalities!

May 14, 2010

Growing garden

The garden has been growing well for the most part! Almost everything was started from seeds, we lost some of the seedlings when we planted, but I planted seeds in their place, so hopefully they will come up too.

Here are a few shots of some of the plants:


There are 2 tomato plants, a strawberry plant and a peppermint plant that we did not grow from seed; they were purchased as small seedlings. Everything else we grew from seeds in little tiny peat pots on our kitchen counter. There are carrots (Danvers to be exact; the kind Bugs Bunny eats!), broccoli, yellow squash and zucchini, sugar peas, beans, arugula, spinach and romaine, corn, tomatoes, strawberries and chili peppers (a mix of jalapeƱo, habanera and some others). I have been saving my jars, too, in hopes of canning some of our hopefully bountiful harvest! We shall see, I may be being overly optimistic (about the canning part, I have faith that we will have a good harvest!).

And here is a picture of one of the beds so that you can see the construction that I mentioned in this post.

Apr 13, 2010

Spring Garden

So DH and I planted a garden , FINALLY!
I've been wanting one for a few years & now I finally have one! So, last summer I got a rain barrel but we weren't sure how to do the garden....
I have the rain barrel on the side of the house towards the rear corner, the only place we could conceivably put it. BUT, the cable to the house & the electrical conduit to DH's workshop are buried on that side...so, no digging! We decided (a little too late) last year that we would just build raised beds.

So we set out to build our raised beds this spring. I looked up several different ways to go about it; most suggested using 1"x12" boards which in our case would be a little cost prohibitive. We were given quite a few 2x4's and we decided to "make do" with those.
We decided we wanted 2 beds that were four foot by eight foot...well 4x8 is not nearly as big as you might think it is. So after DH made the first one, we decided that the 2nd one needed to be bigger, but working in a limited space, it could only be longer. So we settled on 4x16.

Now these beds are on the side of the back yard which has a slight hill going down from the house toward the back and right. (That is 2 angles keep in mind.) It is a very slight hill, but it still posed problems in keeping the beds "level". (I will use that term loosely.) My suggestion was to angle the bottom boards so that it would remain level at the top. Like this:


Well, DH thought that that would cause too many problems in attaching the boards together, it would make them too thin at the point of angle to be able to nail them, yadda yadda yadda.... so he decided to do it the opposite way, like this:


"Whatever makes you happy, Pet."

So now the beds are built, they aren't going to win any beauty contests, but they'll hold dirt, and that's the important part here. Now normally DH is a master at woodworking, he's made beautiful bookshelves for our nephew and nieces, awesome Adirondack chars for my parents and some sizable shelves for me (OK, the first two alliterations were accidental, I just had to throw in the third for consistency's sake), and I think I may have hurt his feelings when I said that they wouldn't win any beauty contests, but they didn't look like most of his other work. I'll get some pics of the actual garden & beds to post later so you can see what I mean.

Now to fill the beds....

Mar 12, 2010

Swap pics!

Well my partner for the "one tiny Harry Potter thing" swap over on Crafster, has received, so I will go ahead and show you all what I made...
first we have the letter from Roger Davies, Ravenclaw house quiddich captain, which proclaims Willowe (my swap partner) to be their honorary seeker and bestowes upon her these beauties...
Golden snitch earrings!

in this nifty little pouch no less:

I hand dyed the fabric for the pouch, it has kind of a jagged lined look to it which didn't really pick up on camera. It turned out a little more purple than I would have liked, but I'm still happy with it. The pouch closes with magnets & the crest was made with shrink plastic. I made the earrings based on the golden snitch necklace I had made myself a while back, I just scaled it down & hunted for some smaller gold beads. I decided to put them on chain so that they would have good movement. The letter was printed first on a laser printer, then aged with coffee & heated in the oven. I printed the Hogwarts seal on my inkjet & very carefully aged it w/dry coffee grounds because, as I discovered on my first attempt, inkjet ink will wash out of the paper. I then very carefully trimmed around the crest & glued it to the letter. I then made an envelope with another sheet of aged paper & hand wrote her name on it, trying to mimic the font I used in the letter.

I was pleased overall in the project & my swap partner really liked it too so I'm pretty happy!